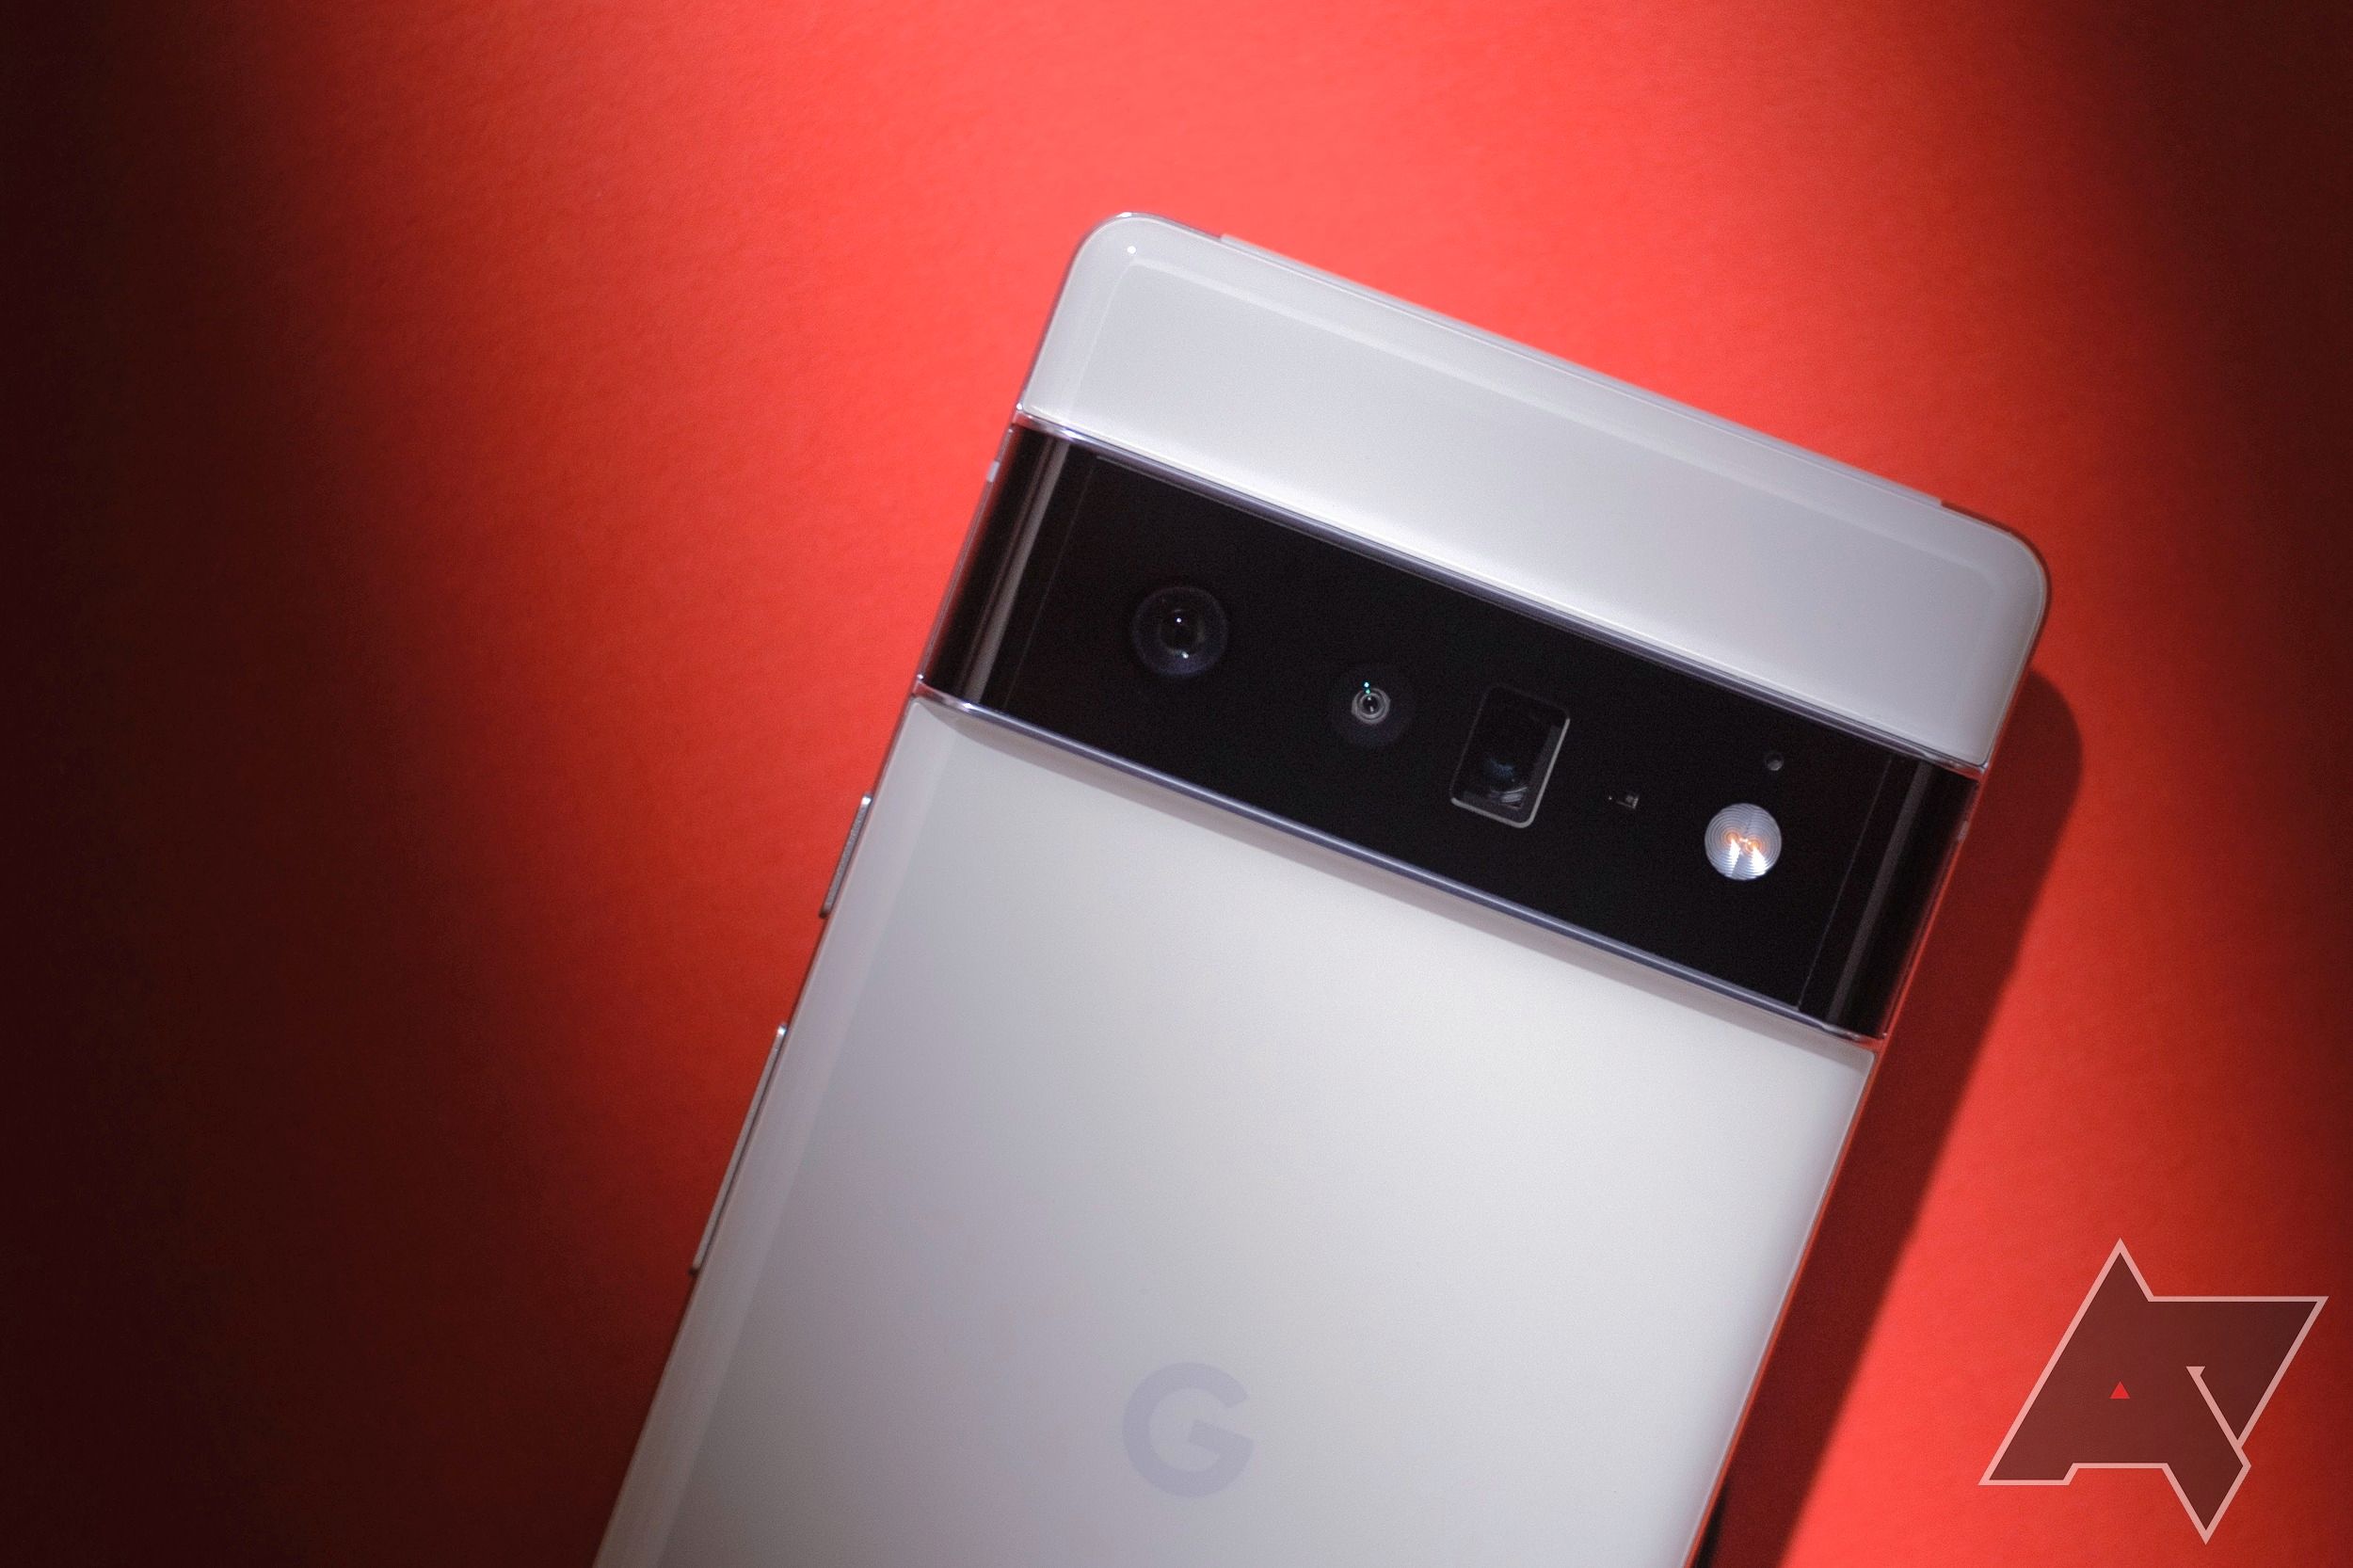
The Google Pixel 6 and Pixel 6 Pro take some of the best photos of any smartphone you can buy today — Google’s software is able to wring some spectacular results out of the phones’ huge 1/1.31″ primary camera sensor. While Pixel phones are known for their straightforward software experience, there are non-essential features you can try to get more out of the photography experience—some more obvious than others.
Add grid lines to the viewfinder
Composing a frame is an essential skill in photography. If you think your composition could use a boost, your Pixel gives you the option to add grid lines to the camera viewfinder. These lines are always visible, and are meant to help arrange your shots in visually pleasing ways: when in doubt, line something up with one or more of the grid lines.
- From the camera app, go to Settings.
- Tap More settings.
- Under Composition, tap grid type.
Use the level
Getting perfectly level shots by sight can be tricky, even for pros. Fortunately, the Pixel 6’s camera app has a feature that makes it a breeze.
While shooting a photo in either portrait or landscape orientation, with your phone within a few degrees of being level, you’ll see a few horizontal lines and a number appear.
When the white lines are lined up with each other and the number is 0°, that means the horizon is level in your shot. When the white lines overlap the yellow line, your phone is perpendicular to the ground—and parallel with things like walls and standing subjects.
If you’re shooting a photo with your phone’s camera pointed straight down (or close to it), you’ll see two plus (+) icons appear. When you align the stationary white plus icon with the floating yellow one, your phone is level—and presumably parallel with any surfaces between the ground and your hands, like floors or tables. This can be handy for getting perfectly flat photos of things like documents (or anything cool you happen to see on the ground).
Tweak exposure, shadows, and temperature
Pixel camera app with exposure, shadow, and temperature sliders
When you tap to focus in the Pixel 6’s viewfinder, you’ll see a few sliders appear. These control exposure, shadows, and color temperature.
The icon that looks like the sun is exposure. This slider adjusts the overall brightness of your photo: up (or left) makes the image brighter, down (or right) makes it darker. The icon of a crescent moon adjusts shadows—the dark parts of your image. Sliding up will brighten shadows, sliding down will darken them. The temperature slider will skew the colors in your image to be warmer (more amber) or cooler (more blue), depending on the direction you move it.
These sliders are handy for dialing in the look you’re after before you take your shot, which can save time editing later. The settings should persist as long as you have the viewfinder open, but you’ll need to make your tweaks again if you navigate away from the camera app.
Try Motion modes
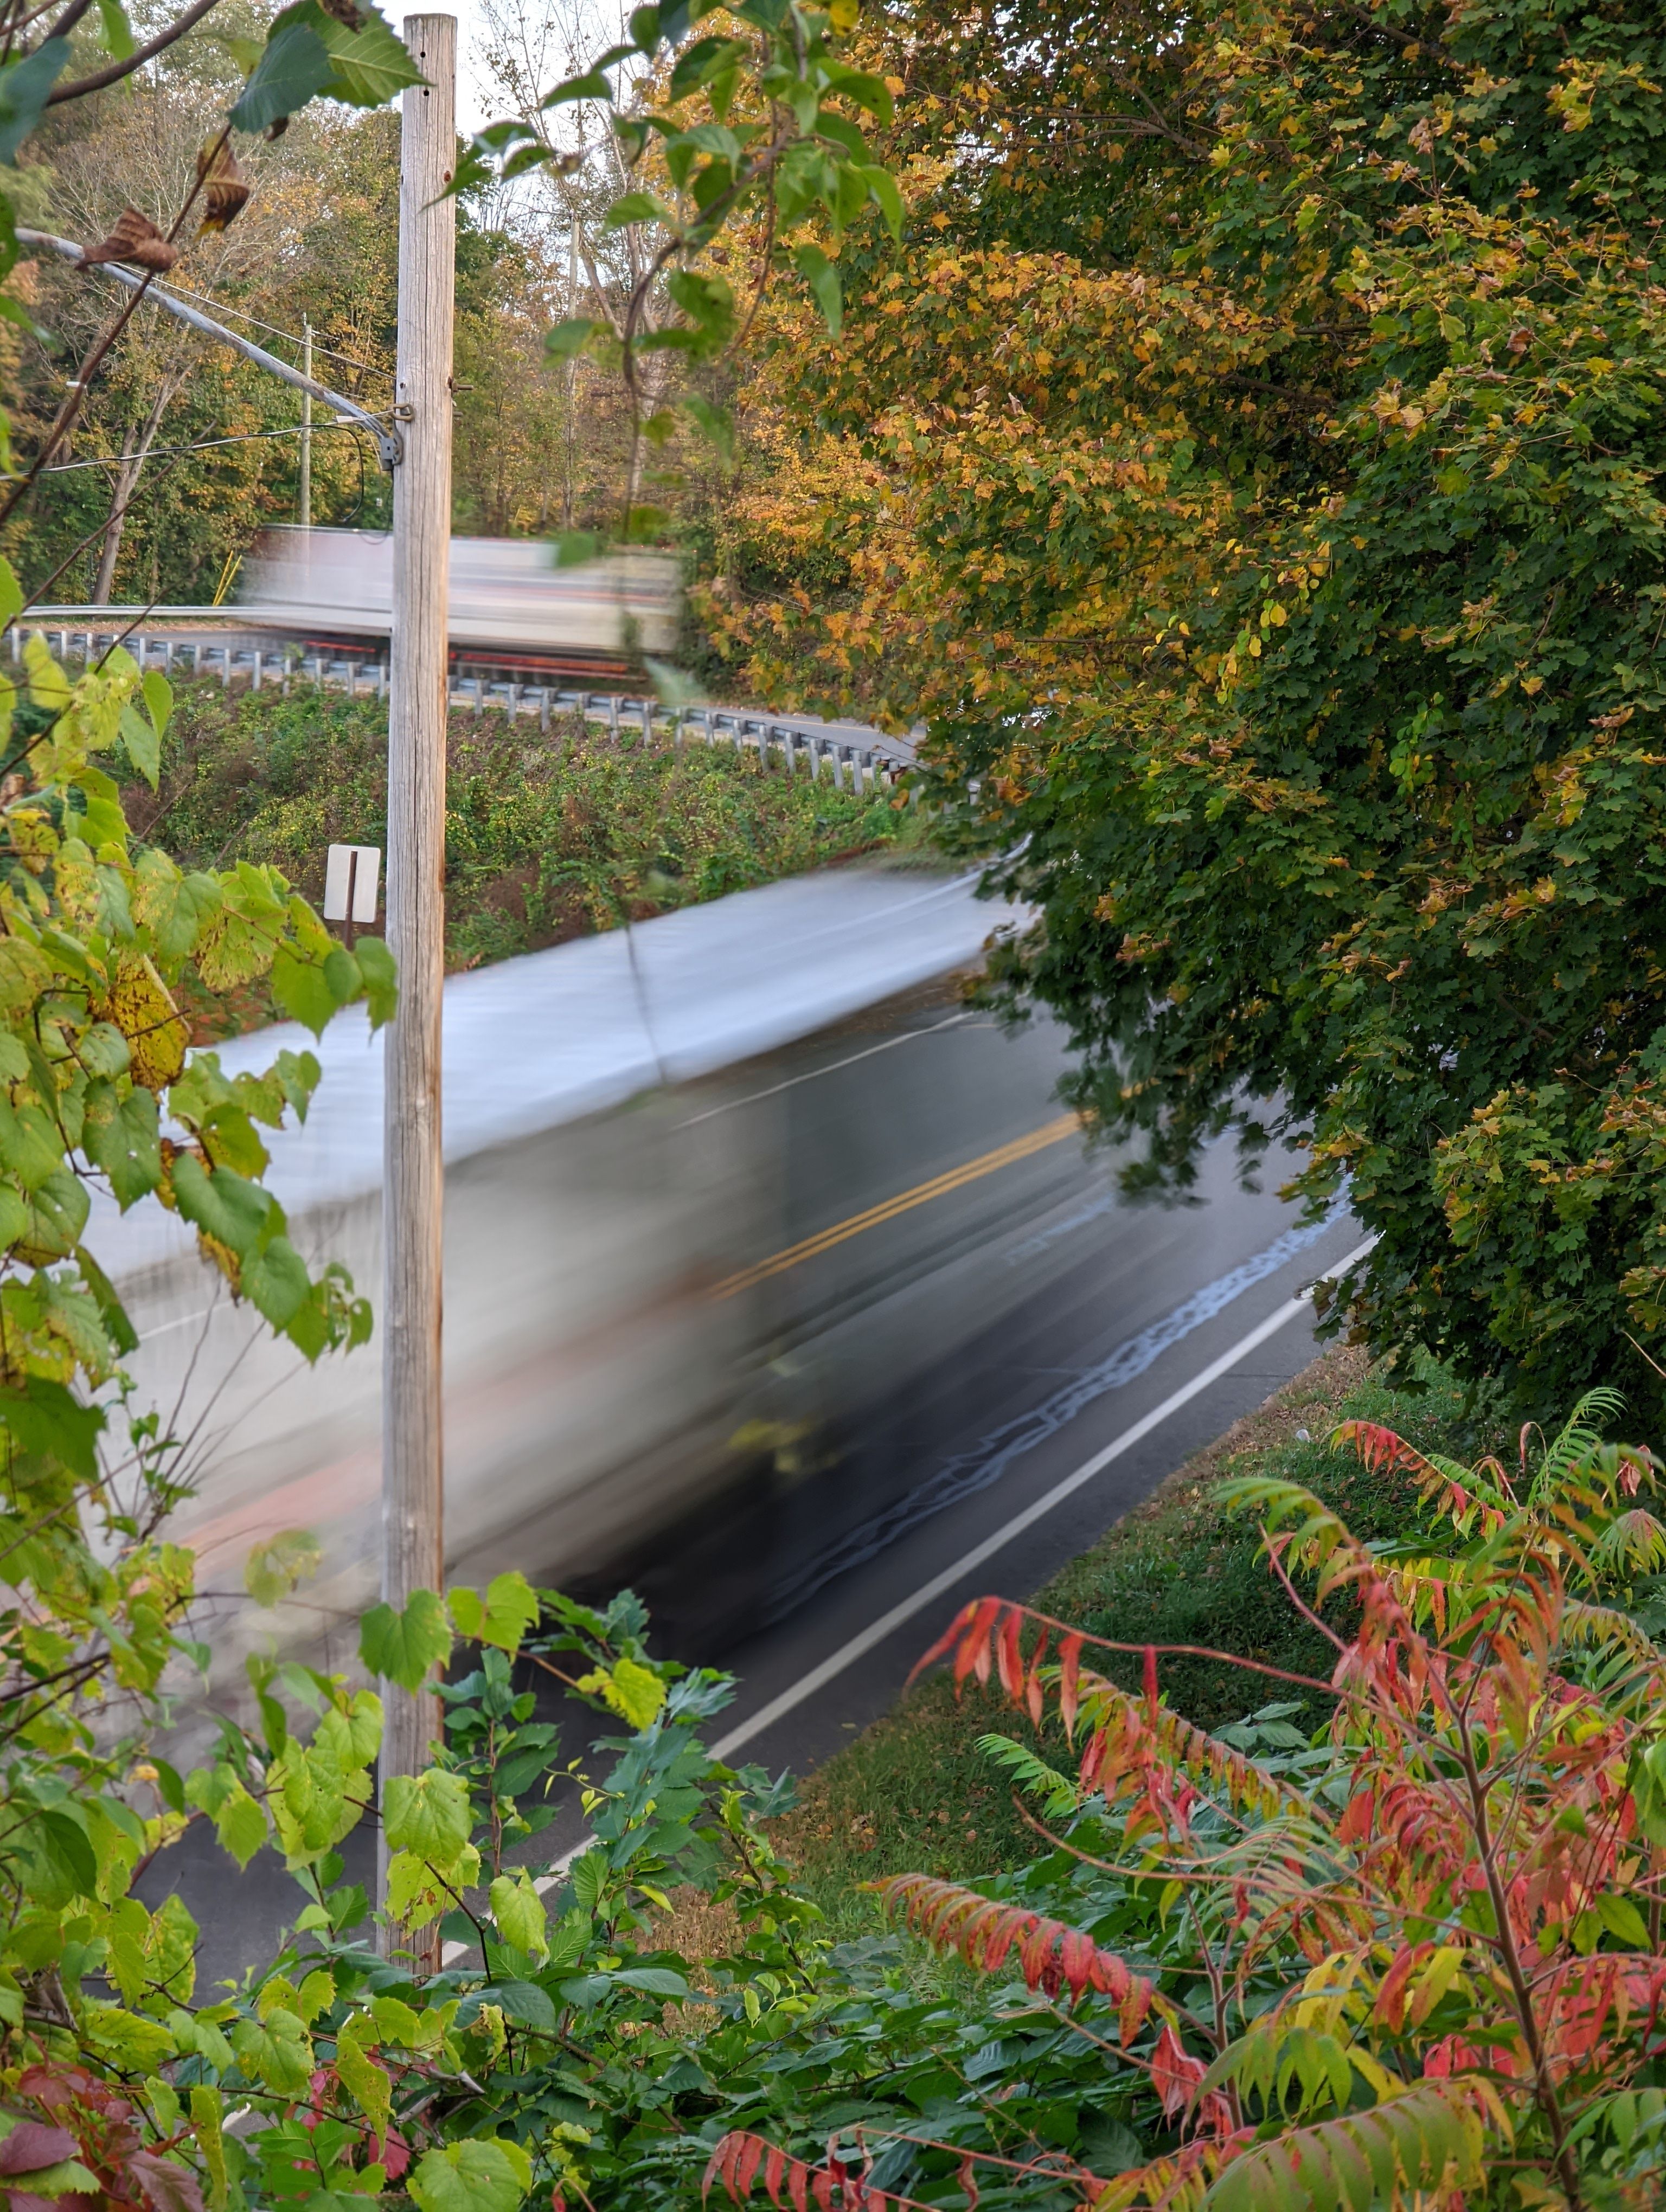
The Pixel 6 debuted two new photo modes: Action Pan and Long Exposure. Action Pan adds fake motion blur around a moving subject. Long Exposure mimics the look of taking, well, a long exposure: stationary objects will be clear, but anything that was moving when you took the photo will have a blur effect applied. These are both tricky techniques to pull off with dedicated cameras, so being able to “fake” them with a phone is handy.
To access these modes, tap Motion at the bottom of the camera app—to the left of Camera, just past Portrait. Action Pan works best on single moving subjects; Long Exposure will work anywhere there’s motion.
Switch cameras with a gesture
Swapping between the rear and front cameras on Pixel 6 is already pretty effortless—just tap the switch icon near the bottom of the screen. But should you ever find that button hard to reach, there’s also a gesture to swap between cameras: twist the phone like a doorknob two times. The phone will vibrate and swap to whichever camera you’re not currently using.
You can even use this gesture to take a selfie without using your phone’s touchscreen at all. Just double-tap the power button to open the camera app, twist the phone twice to switch to the front-facing camera, then press either volume key to snap a selfie.
Shoot in RAW format
If you’re into photography, you may be familiar with “shooting in RAW.” RAW files take up a lot of storage space, but they’re also minimally processed and allow for more editing flexibility with a compatible app like Adobe Lightroom.
Google’s post-processing is one of the best things about Pixel phones’ cameras, so your photos might not benefit much from manual processing—but it’s still a fun exercise. Here’s how to give it a try.
- Open the Camera app.
- Tap the settings gear in the top left corner.
- Tap More settings.
- Go to Advanced.
- Toggle the RAW+JPEG control option on.
- To toggle RAW capture on or off, tap the settings gear in the Camera app and choose the appropriate icon under RAW.
On Pixel phones, RAW files are saved in their own folder that’s not backed up in Google Photos, but the phone still saves a processed version of every photo you take, even with RAW capture turned on. Just be sure to turn RAW capture off when you don’t want to use it—the files eat up a lot of local storage.
Remember, you’ll need a RAW-compatible app to edit the files. Google Photos won’t work, but there are plenty of options, including Lightroom and Google’s own Snapseed.
Take your smartphone photo game to the next level
We hope you picked up some useful Pixel camera tips! For in-depth how-tos, check out our guides on using Action Pan and Long Exposure on the Pixel 6 and shooting RAW on mobile.
Read Next
About The Author